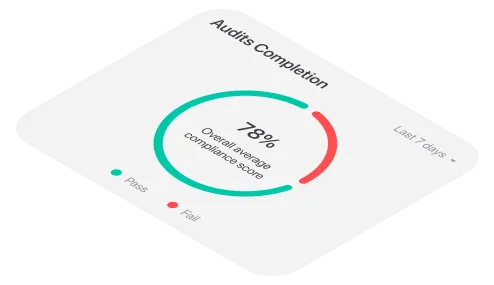


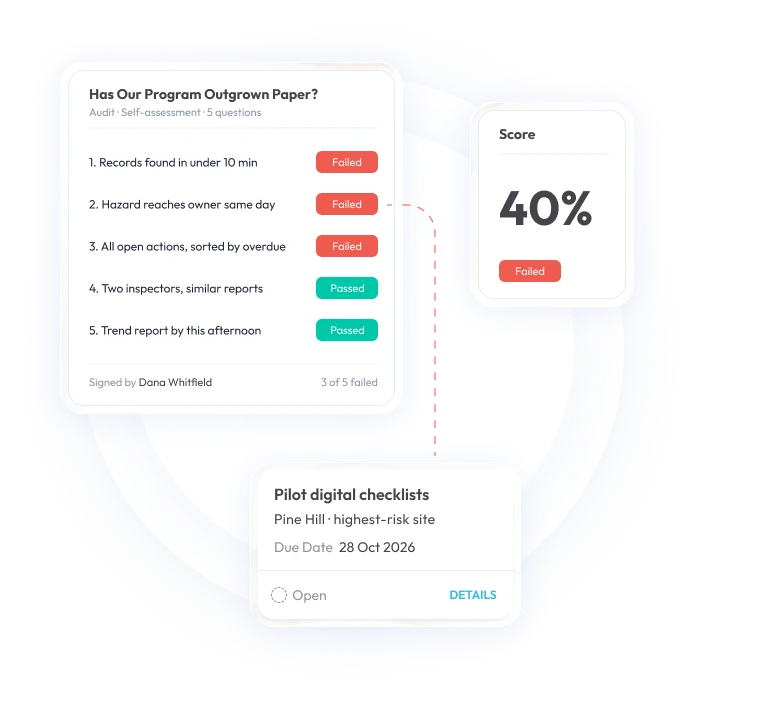
Most health and safety inspections don't fail because inspectors are careless. They fail because the process is built to produce a clean report, not an honest one.
Picture the typical Friday afternoon walkthrough: a supervisor with a clipboard, a checklist that hasn't changed since 2019 and 15’ before the next meeting. Boxes get ticked. A fire extinguisher gets glanced at, not checked. The report gets filed. Then, 3 weeks later, that same extinguisher is found expired during a real audit, or worse, during an incident.
This is the gap between doing an inspection and conducting one properly. If you're searching for how to conduct a health and safety inspection, you already know the checkbox version isn't working. This guide walks through the process professional EHS teams actually use: from planning and preparation to hazard identification, documentation, corrective actions and the follow-up that most companies skip entirely. We've also included a free downloadable checklist at the end so you can put this into practice today.
Why most health and safety inspections miss the real problems
Before the how-to, it's worth naming what usually goes wrong, because the fix for each is baked into the steps below.
- The checklist is generic. A one-size-fits-all template can't catch hazards specific to your equipment, layout or process.
- Inspectors aren't trained on what "good" looks like. Ticking "PPE available" isn't the same as verifying it's the right PPE, in usable condition and actually being worn.
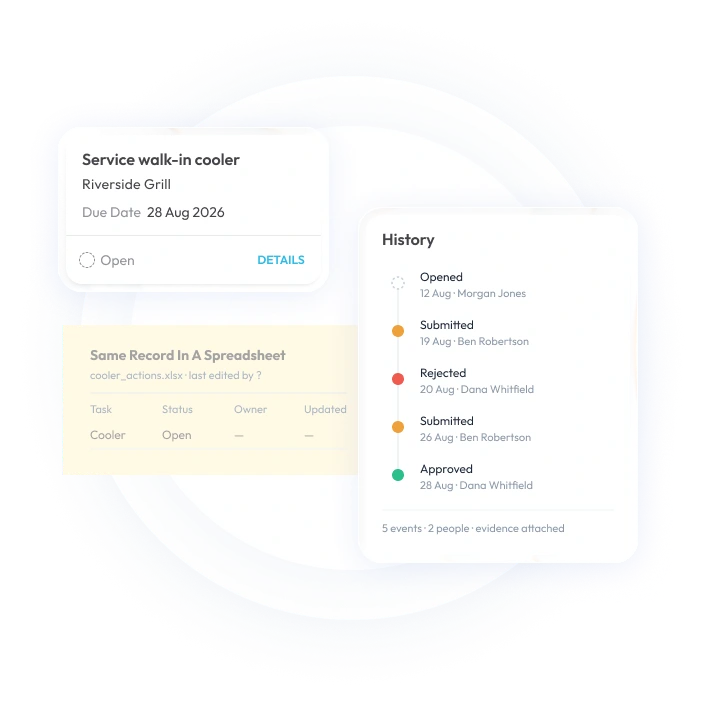
- Findings live in a notebook, not a system. Paper forms and standalone spreadsheets get lost so patterns across locations or time never surface.
- Corrective actions have no owner or deadline. A hazard identified but not assigned to someone, with a due date, is just a documented risk, not a resolved one.
- Nobody closes the loop. The inspection ends when the form is submitted, not when the fix is verified.
Health and safety inspections are only as good as the system built around them. Here's how to build that system properly.
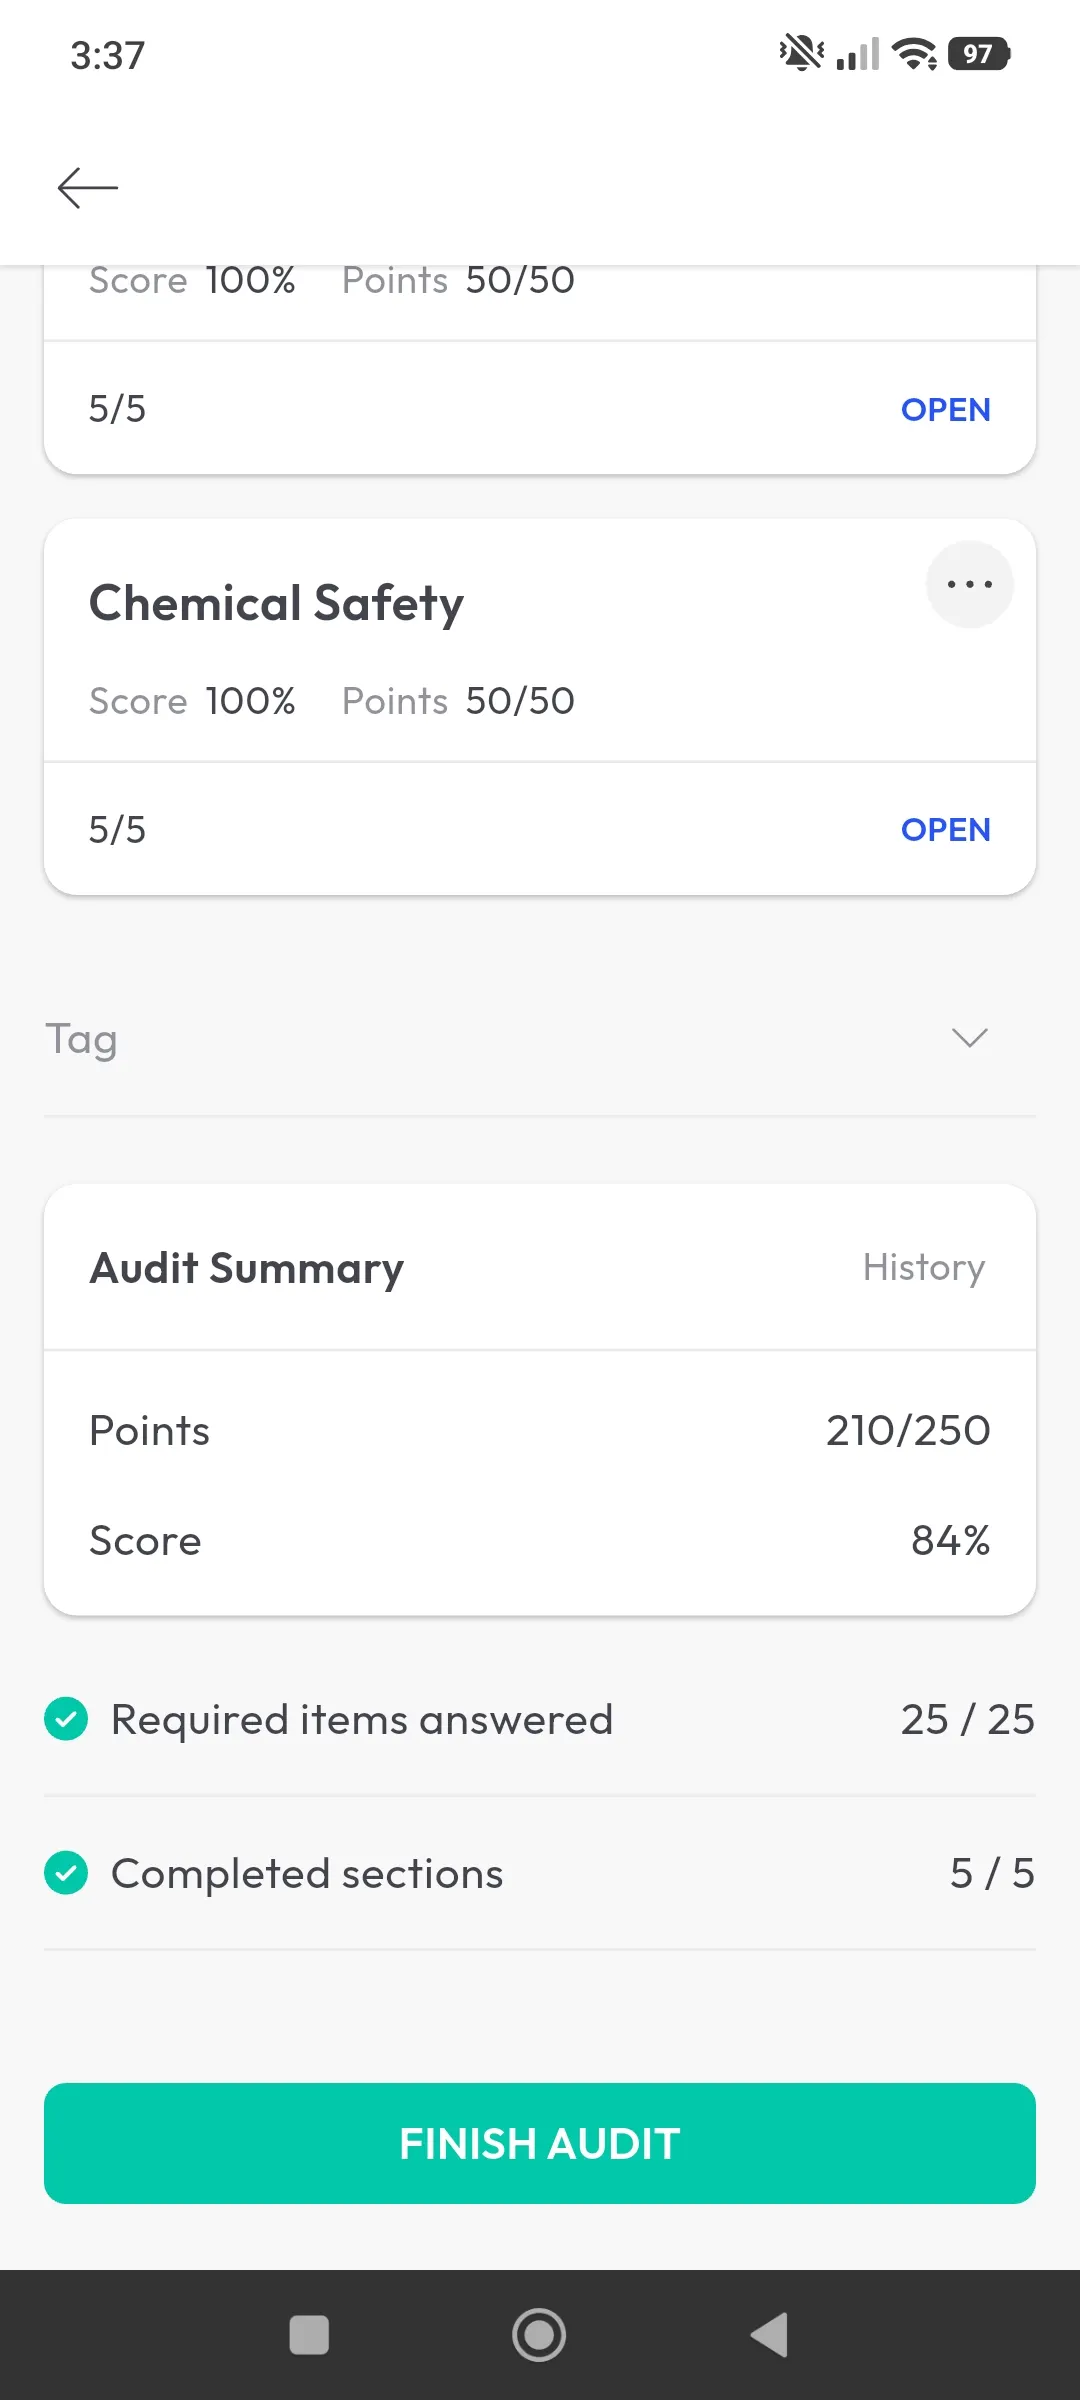
Step 1: Plan the inspection before you ever pick up a checklist
Planning is the step most teams shortcut and it's the one that determines whether the rest of the inspection has any teeth.
Define the scope and purpose. Is this a routine weekly walkthrough, a pre-audit readiness check, an incident follow-up or a new-equipment commissioning inspection? Each has a different focus. A routine inspection might scan the whole facility at a high level; an incident-triggered inspection should dig deep into one specific area or process.
Set the frequency based on risk, not habit. High-hazard areas (confined spaces, machinery with moving parts, chemical storage) warrant more frequent checks than a low-traffic office corridor. Many organizations run daily pre-start checks on equipment, weekly departmental walkthroughs and a more comprehensive monthly or quarterly facility-wide inspection.
Choose the right inspector or team. A single generalist inspector will catch generalist problems. Pair them with someone who knows the specific equipment or process, and you'll catch the issues a checklist alone would miss. For larger facilities, assign inspectors by zone or discipline (electrical, ergonomic, fire safety, chemical handling).
Review history before you walk the floor. Pull the last few inspection reports, incident logs and any outstanding corrective actions. Walking in cold means you're starting from zero every time and recurring issues never get flagged as patterns; they just look like isolated one-offs.
Practical example: A food manufacturing plant scheduling a quarterly inspection pulls the prior two quarters' reports first and notices the same drainage issue near the packaging line was flagged twice and never fully resolved. That single planning step turns a routine inspection into a targeted follow-up with a much sharper focus.
<<cta>>
Step 2: Build (or update) a checklist that reflects your actual risks
A checklist is a memory aid, not a substitute for judgment but a poorly built one actively works against you.
Start from your risk assessment, not a template you found online. Generic templates are a reasonable starting point but every item on your checklist should map back to a hazard that's actually present in your facility. If forklifts aren't part of your operation, don't waste inspector attention on forklift-specific items; use that space for what matters.
Group items by area or hazard category. Structuring the checklist by zone (loading dock, production floor, storage, break room) or by hazard type (fire, electrical, chemical, ergonomic, PPE) keeps inspectors moving logically instead of jumping around a facility.
Write items as observable actions, not vague standards. "Fire extinguishers accessible" is weaker than "Fire extinguisher unobstructed, pressure gauge in green zone, inspection tag dated within 12 months." The more specific the prompt, the less room there is for a rushed checkmark.
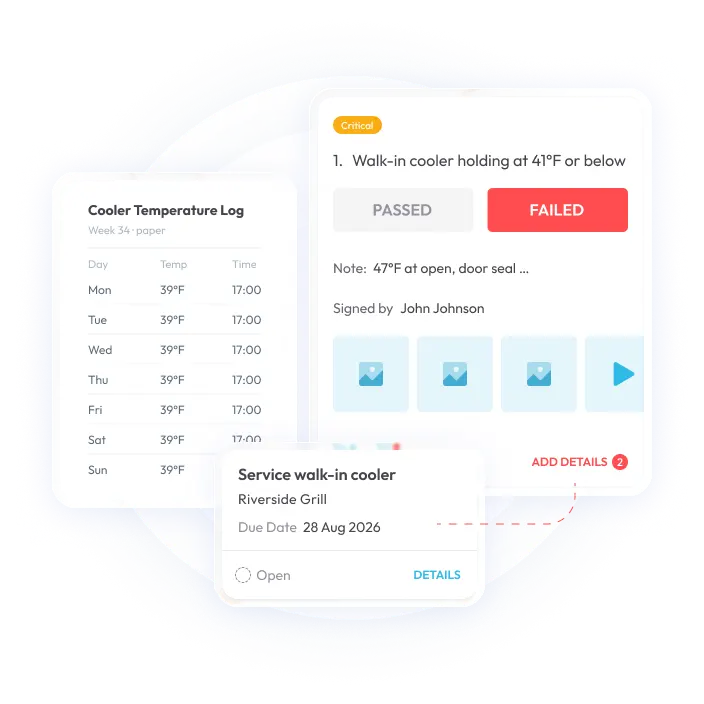
Build in space for photos, notes, and severity ratings. A checklist that only allows pass/fail loses the nuance between "minor housekeeping issue" and "imminent hazard requiring immediate shutdown."
Revisit the checklist regularly. Update it after every incident, near-miss, regulatory change or process modification. A checklist that hasn't changed in two years is a checklist that's stopped reflecting your actual workplace.
This is where digital inspection platforms earn their keep. Static PDF or paper checklists are hard to update consistently across teams and locations, and they don't force accountability the way a structured digital workflow does. Platforms like monitorQA's health inspection software let you build role-specific, industry-tailored checklists that update centrally so every inspector across every site is working from the same current version, with required photo evidence and severity tagging built directly into the form.
Step 3: Conduct the walkthrough - look past the obvious
This is the part people picture when they think of an inspection but the difference between a surface-level walkthrough and one that catches real problems comes down to method.
Do a first pass with fresh eyes before opening the checklist. Walk the space and note anything that immediately looks, sounds or smells wrong; this catches issues a checklist wouldn't think to ask about, because no one anticipated them.
Then work the checklist systematically, area by area. Resist the urge to jump between sections. A methodical path through the space (the same route every time, if possible) means nothing gets skipped because you assumed someone else already checked it.
Talk to the people who work there. Employees know where the near-misses happen, which equipment "acts up sometimes," and which procedures get quietly skipped under deadline pressure. A five-minute conversation with a machine operator often surfaces more than twenty minutes of solo observation.
Test, don't just observe. Check that the emergency shower actually runs. Confirm the exit door actually opens. Verify the eyewash station has current water flow. A hazard control that exists on paper but fails in practice is more dangerous than an obvious, already-flagged gap, because everyone assumes it works.
Rate severity and urgency as you go, not after the fact from memory. Was that exposed wiring a "note for next quarter" issue or a "stop work now" issue? Categorizing findings in real time - critical, major, minor - is what lets you triage corrective actions instead of treating every finding with equal (or equally low) urgency.
Practical example: An inspector doing a routine walkthrough notices an extension cord running under a mat near a workstation - technically not on the checklist, since the checklist was written before that workstation existed. Because they walked the floor with fresh eyes first, rather than only working the form, the hazard gets caught and flagged as high severity due to trip and fire risk.
Step 4: Document findings so they're impossible to lose or ignore
An inspection finding that isn't documented clearly, with evidence, might as well not exist; it can't be tracked, escalated or used to spot patterns.
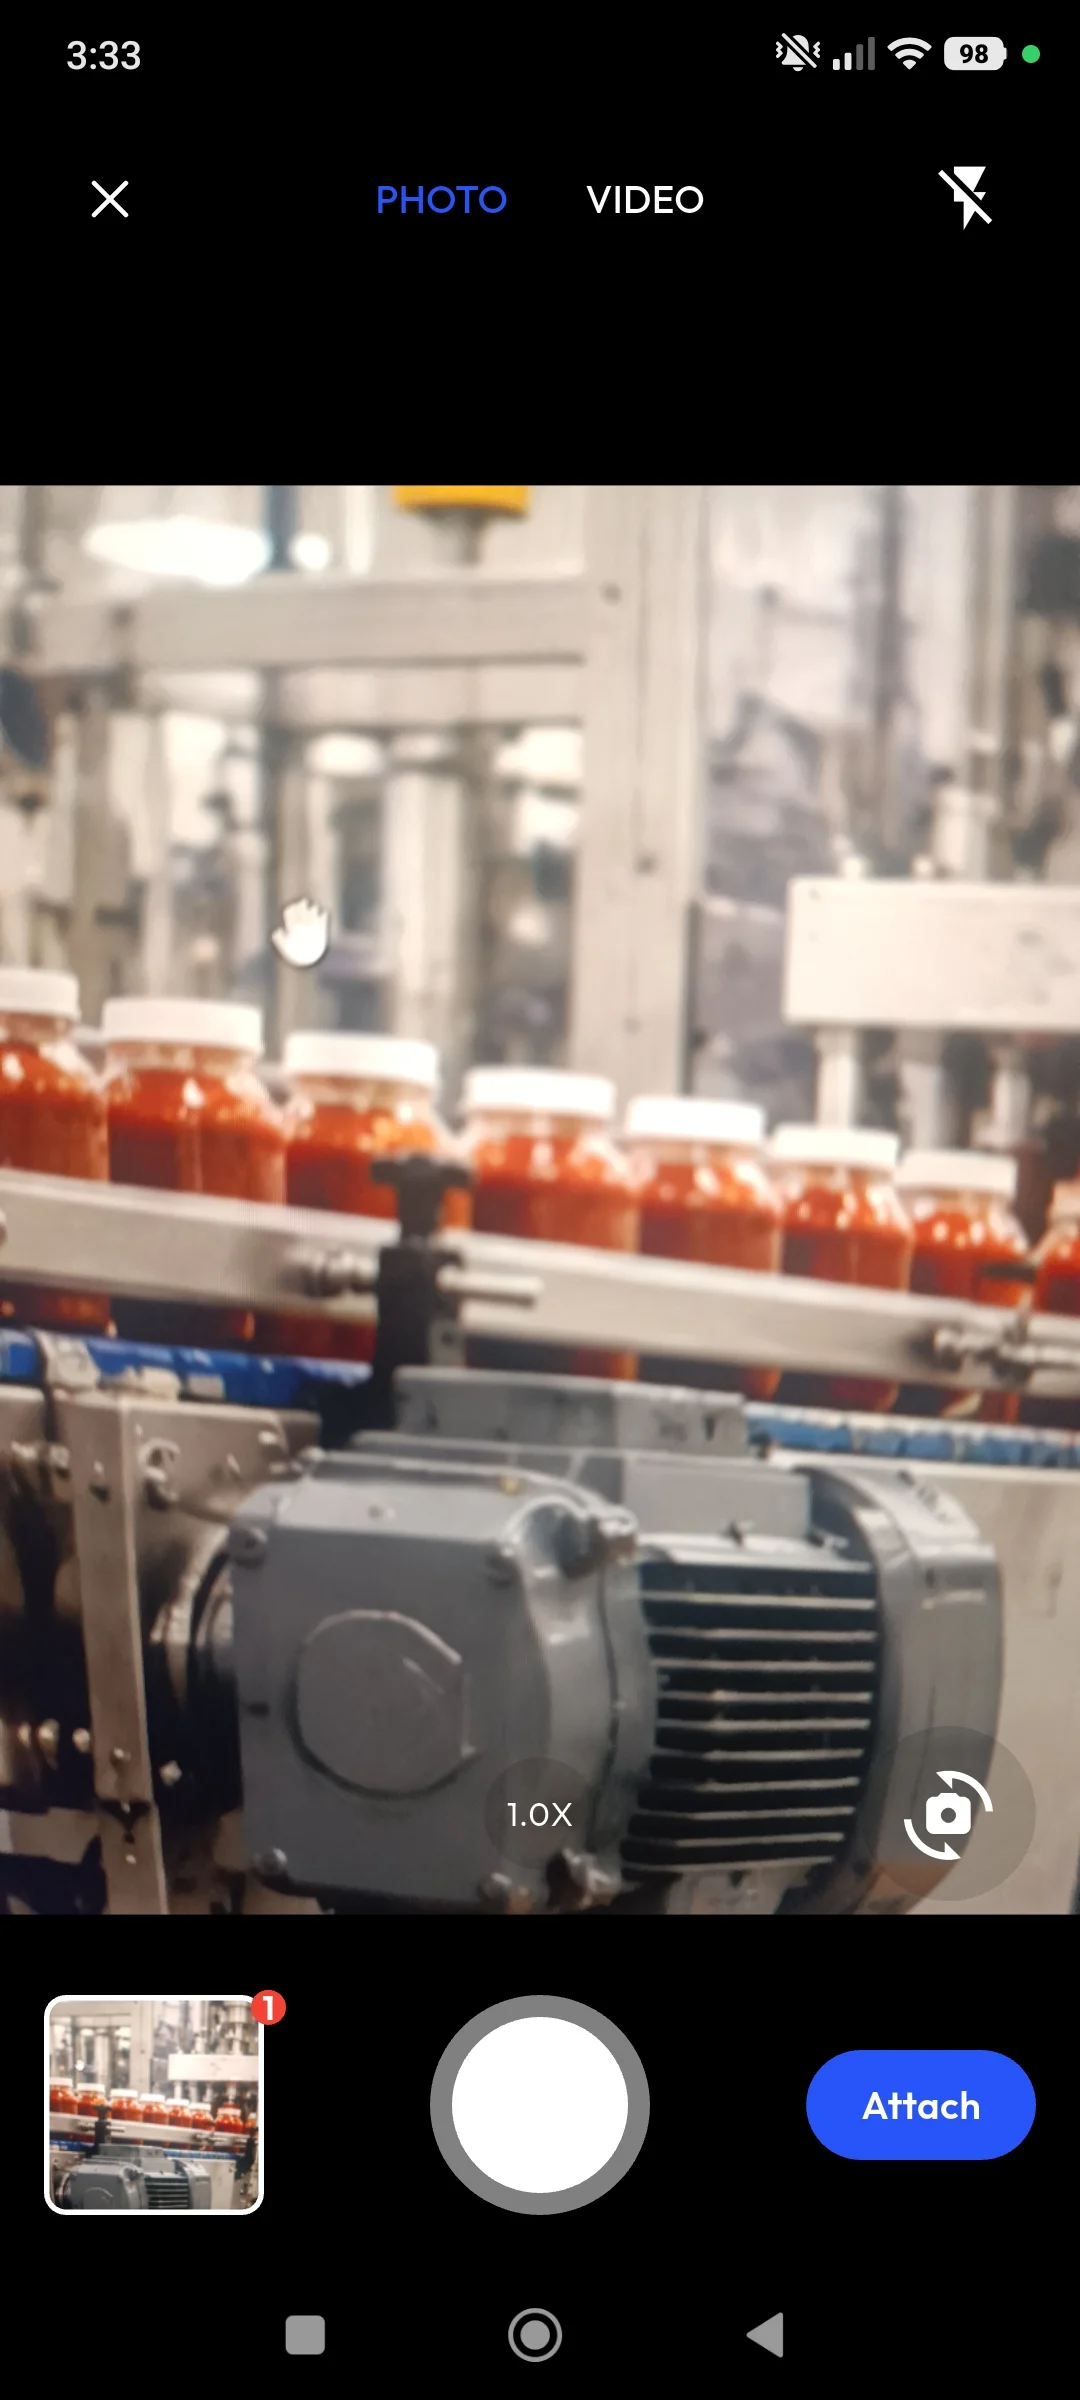
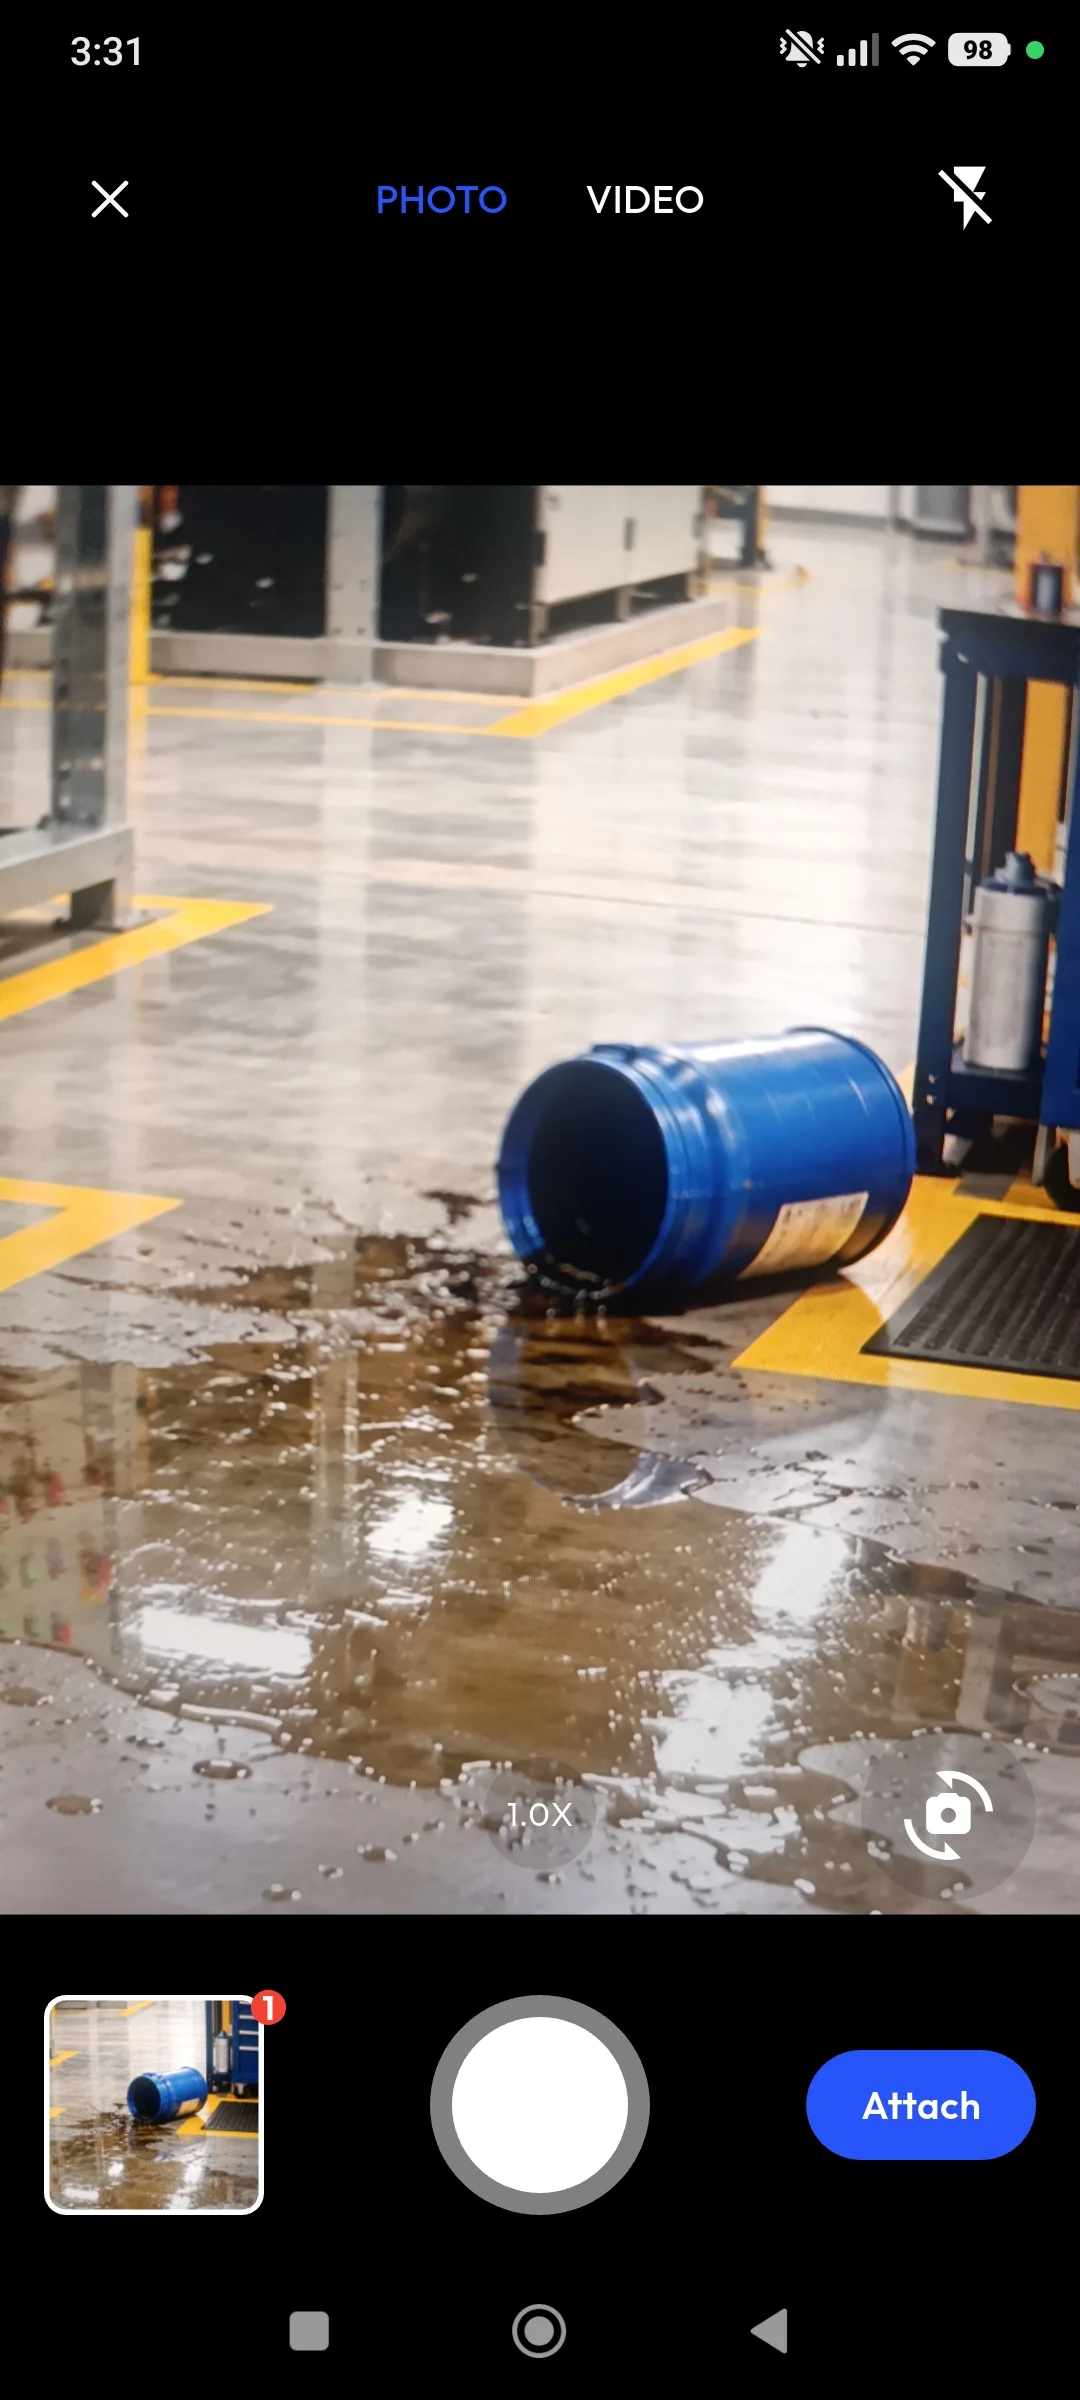
Capture photos and location details for every finding, not just the serious ones. A photo removes ambiguity about what "minor spill in aisle 3" actually looked like and gives whoever fixes it a clear reference point.
Write findings as specific, actionable statements. "Housekeeping needs improvement" tells the next person nothing. "Pallet stacked above the marked height limit in Bay 4, blocking sprinkler clearance" tells them exactly what to fix and why it matters.
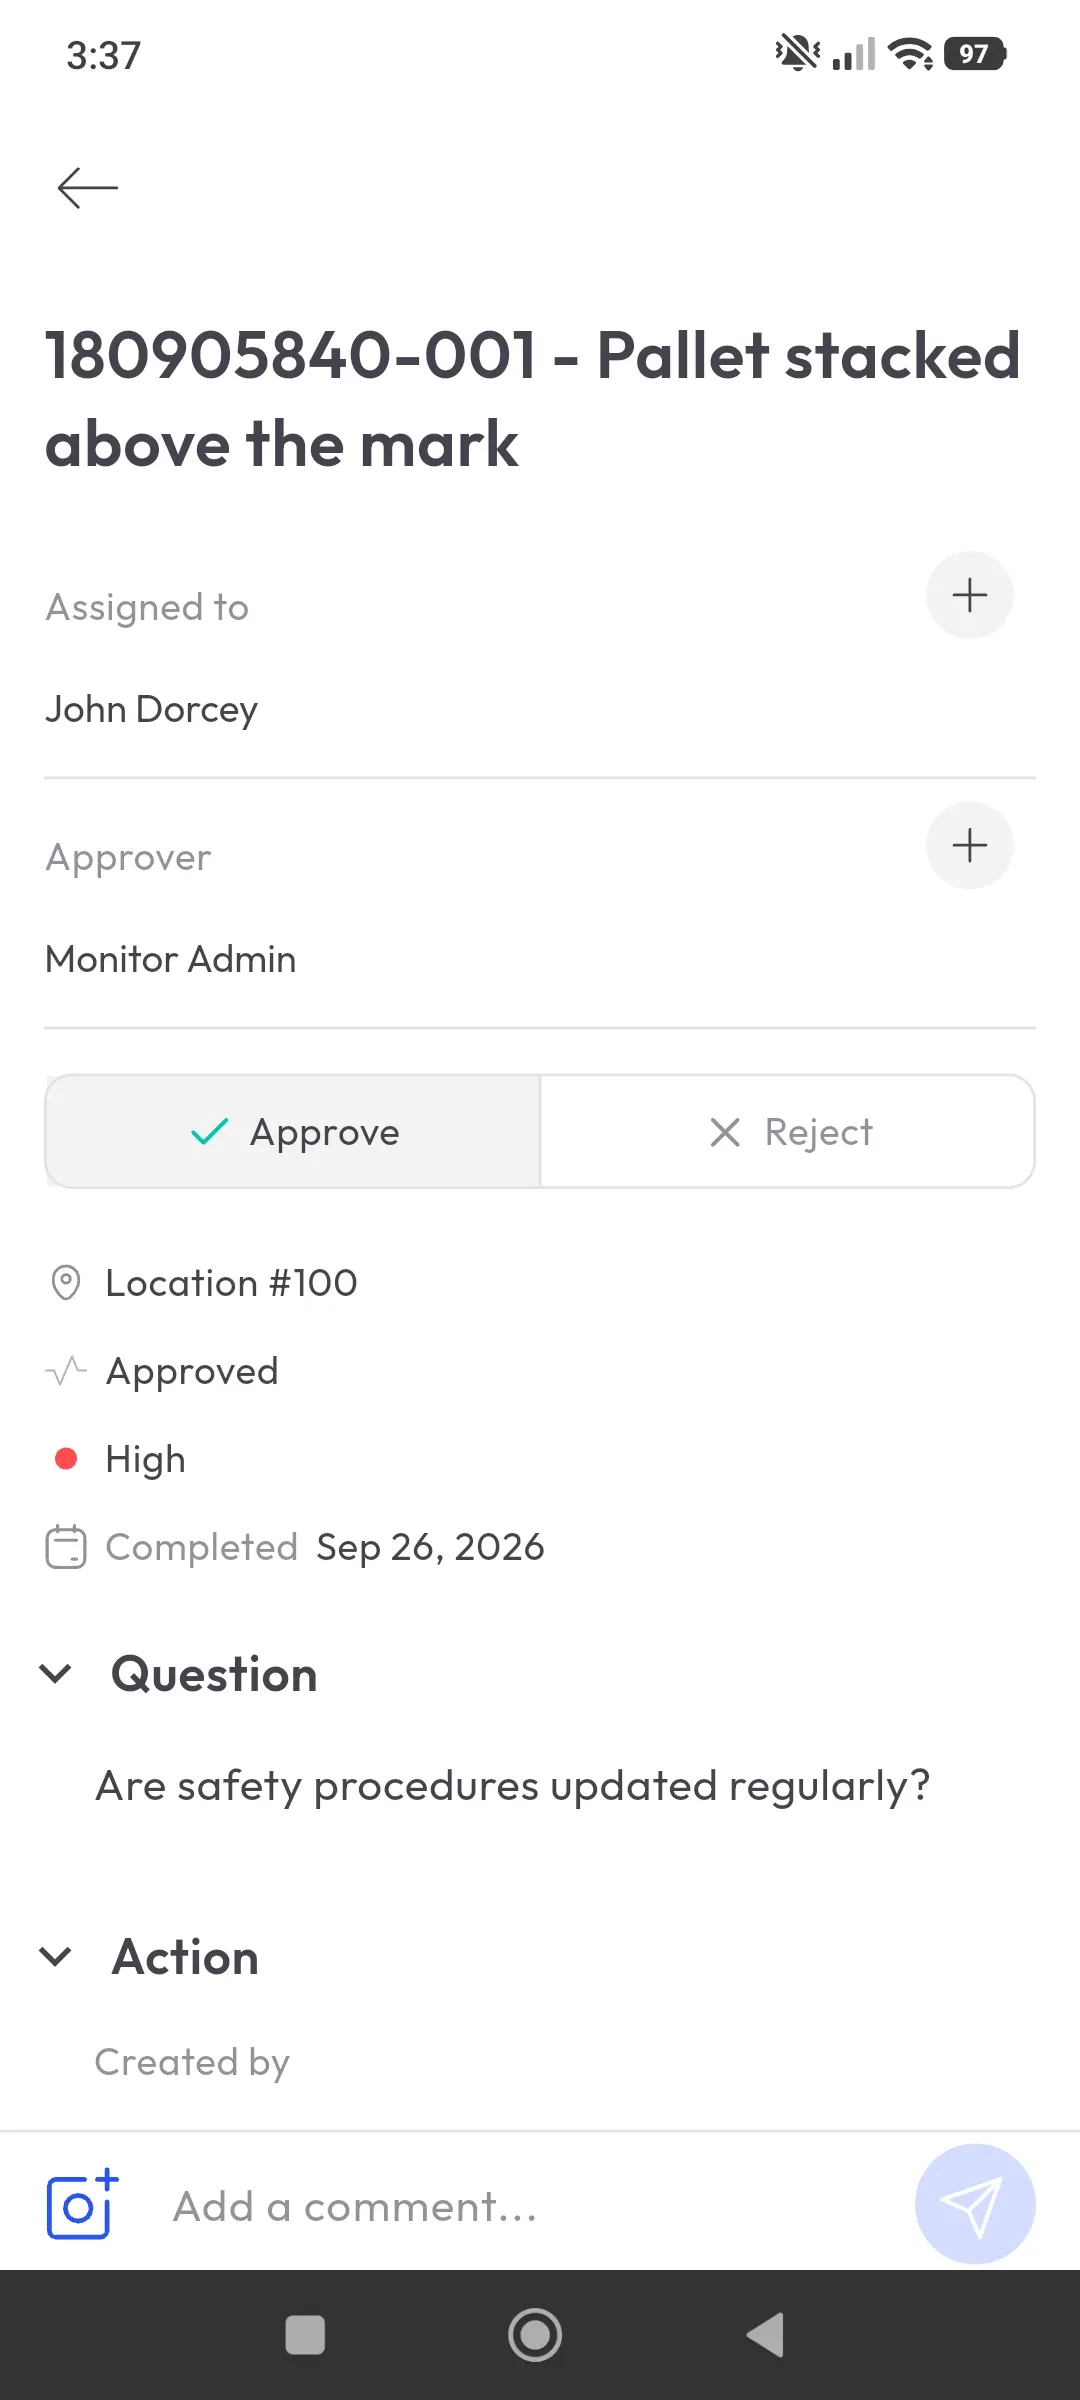
Timestamp everything and log the inspector's name. This matters for compliance records, for tracking accountability and for spotting whether certain issues only appear on certain shifts or with certain inspectors - both useful diagnostic signals.
Centralize the documentation immediately, rather than transcribing paper notes into a system later that day (or week). Every manual transfer step is a chance for a finding to get watered down, lost or simply forgotten before it's ever assigned to anyone. Digital inspection tools that let inspectors log findings, attach photos and tag severity directly from a phone or tablet, in real time, on the floor, remove that gap entirely.
<<cta>>
Step 5: Assign corrective actions with an owner and a deadline
This is the step that separates an inspection that improves safety from one that just produces a report nobody acts on.
Every finding needs an owner, not just a description. "Someone should fix this" resolves nothing. "Facilities lead, John, to repair by Thursday" resolves things.
Set deadlines based on severity, not administrative convenience. A critical hazard - exposed electrical wiring, a blocked emergency exit - needs action within hours, not folded into next month's maintenance schedule. Minor housekeeping items can reasonably wait for a routine cycle.
Escalate anything that constitutes immediate danger on the spot. Don't wait for the report to be filed and reviewed before the extinguisher gets replaced or the area gets cordoned off. Verbal or immediate written notice to the relevant team should happen in real time, with the formal record following.
Make the corrective action trackable, not just assigned. A spreadsheet row that says "in progress" with no further detail isn't a tracking system; it's a place where accountability quietly evaporates. This is one of the clearest advantages of a dedicated platform: tools built for this, like monitorQA, let you assign, prioritize and monitor corrective actions inside the same system that generated the finding, so nothing gets assigned into a void.
Step 6: Follow up - the step almost everyone skips
An inspection without follow-up is just a snapshot. It tells you what was wrong on one particular day; it doesn't tell you whether anything actually got better.
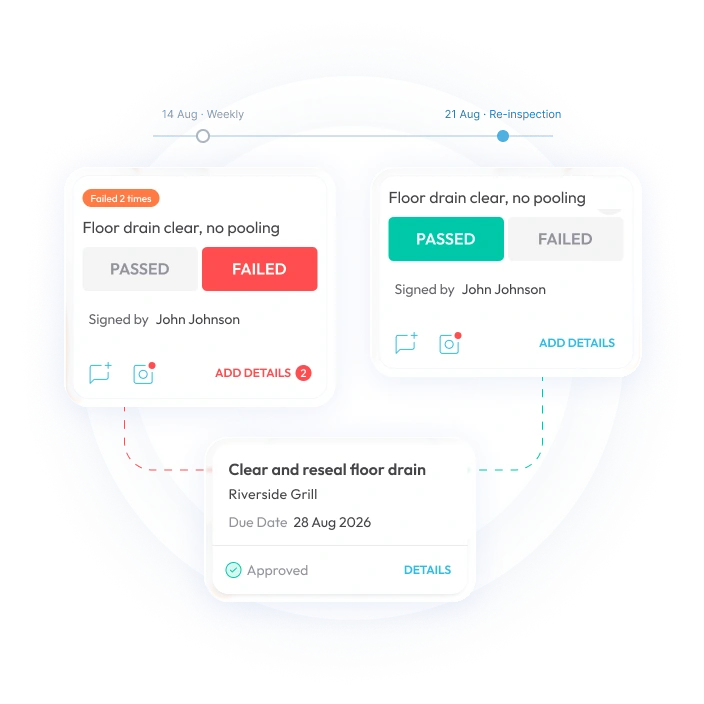
Verify closure, don't just trust it. When a corrective action is marked "complete," someone should confirm the fix actually holds, not just that a box got checked in the tracker.
Re-inspect high-severity findings specifically. Don't wait for the next scheduled full inspection to check whether last month's critical hazard was properly resolved. A targeted spot-check closes the loop faster and confirms the fix wasn't temporary.
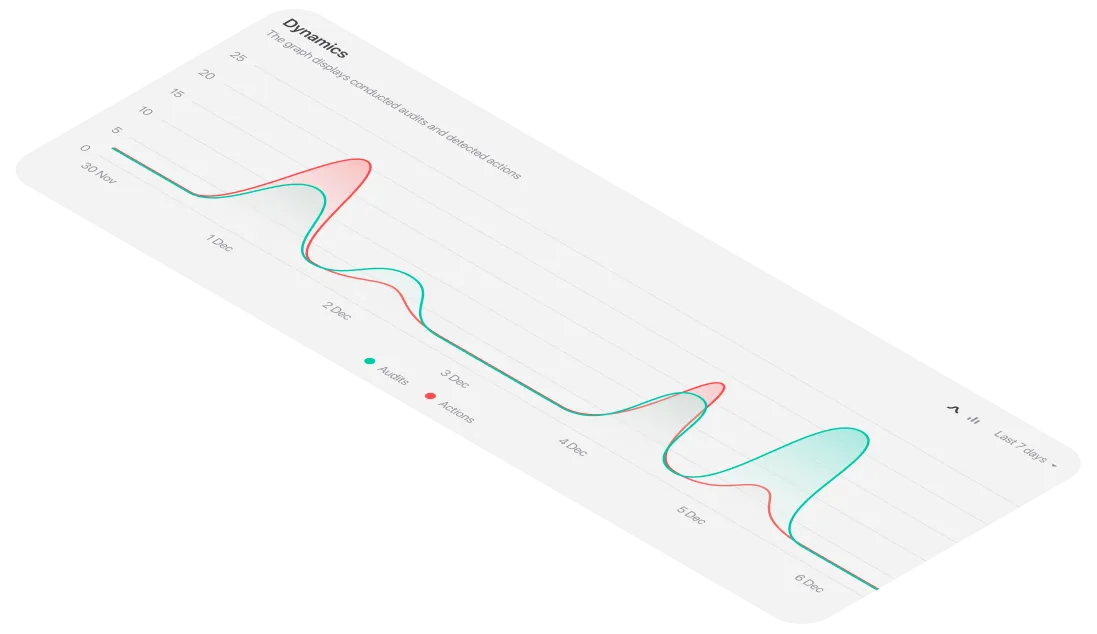
Track trends across inspections, not just individual findings. If the same hazard keeps recurring in the same area, the underlying cause probably isn't being addressed; you're treating a symptom, not the root cause. This kind of pattern is nearly invisible in paper records and only becomes obvious once inspection data is aggregated and reported on over time.
Report upward, regularly. Leadership visibility into inspection trends, not just individual incident reports, is what turns safety from a compliance obligation into an operational priority that gets resourced properly.
Practical example: A retail chain running inspections across 40 locations notices, once inspection data is aggregated in one dashboard, that "blocked emergency exit" findings cluster overwhelmingly in stores using a particular seasonal storage layout. That pattern would have been invisible looking at any single store's paper report; it only surfaced because the data lived in one connected system instead of forty separate binders.
<<cta>>
A simple health and safety inspection workflow, end to end
To bring it all together, here's the sequence in practice:
- Plan - define scope, frequency, and inspector assignment; review prior findings.
- Prepare the checklist - tailored to actual site risks, grouped logically, specific and observable.
- Walk the floor - fresh-eyes pass, then systematic checklist pass, talk to workers, test controls.
- Document - photos, specific descriptions, timestamps, immediate centralization.
- Assign corrective actions - named owner, risk-based deadline, real-time escalation for critical hazards.
- Follow up - verify closure, re-inspect high-severity items, track trends, report to leadership.
Run through this cycle consistently and health and safety inspections stop being a paperwork exercise and start doing what they're actually for: catching problems before they become incidents.
Free downloadable health and safety inspection checklist
To help you put this process into action right away, we've put together a printable checklist covering the areas most inspections miss - hazard categories, documentation prompts, and a corrective action tracker you can adapt to your site.
Download the Health and Safety Inspection Checklist
If you're managing inspections across multiple sites, teams, or shifts, a static checklist will only get you so far - the real gains come from centralizing planning, documentation, corrective actions and follow-up in one system. monitorQA's health inspection software is built around exactly this workflow: tailored digital checklists, photo-backed findings, assigned and tracked corrective actions and reporting that surfaces trends across every location so nothing you catch on the floor gets lost between the walkthrough and the fix.